
Planning to set up an EV charger at home? If you’ve got the ElecQ Home H1 Level 2 EV Charger, you’re off to a great start. This powerful device comes with a unique power module that gives it an edge over traditional chargers.
I’ll walk you through how to install the ElecQ Home H1 from start to finish—including mounting, wiring, breaker sizing, and firmware updates. Whether you’re a DIY enthusiast or just want to know what’s involved before bringing in an electrician, this tutorial is packed with insights.
What You’ll Need for the Installation
Before diving into the install, make sure you have the right tools and materials. Here’s your checklist:
- ElecQ Home H1 Charger (with optional power monitor)
- Conduit (EMT, rigid, Schedule 40 or 80)
- Connectors (rain-tight if outdoors)
- 6 AWG THHN wire for a 60A breaker setup
- 2 leads (black and red)
- 1 ground (green)
- Step bit drill (ideal for panel holes)
- Screwdriver and drill
- Torque wrench (45 ft-lbs recommended)
Note: If installing outdoors, use Schedule 80 conduit and weatherproof fittings.
Breaker Sizing: Crucial Safety Step
Breaker sizing is one of the most important aspects of your EV charger install. The ElecQ H1 supports up to 50 amps continuous output, but that means your breaker and wiring must be rated accordingly.
Here’s how to choose:
- For 48A charging:
- Use a 60A breaker
- Use 6 AWG copper wire
- For 50A charging:
- NEC (National Electrical Code) requires 125% sizing
- 50A x 1.25 = 62.5A, round up to a 70A breaker
- Use 4 AWG copper wire
Always check for local code compliance and consider wire run distance when sizing.
Step-by-Step Installation Process
Let’s break the install down into manageable steps.
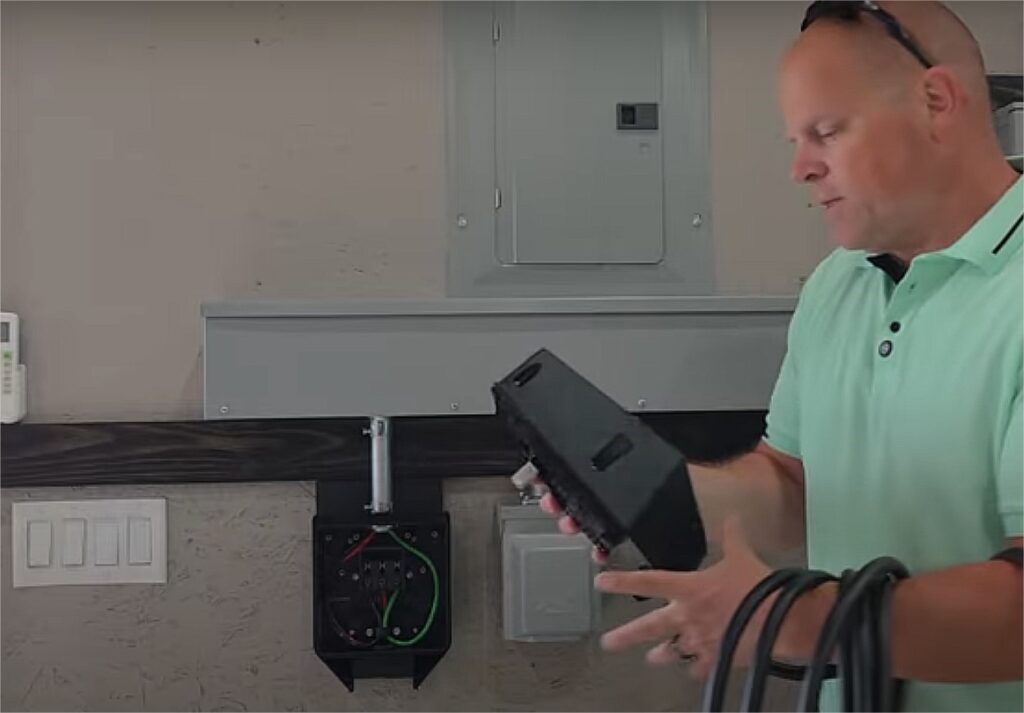
1. Disassemble the Charger
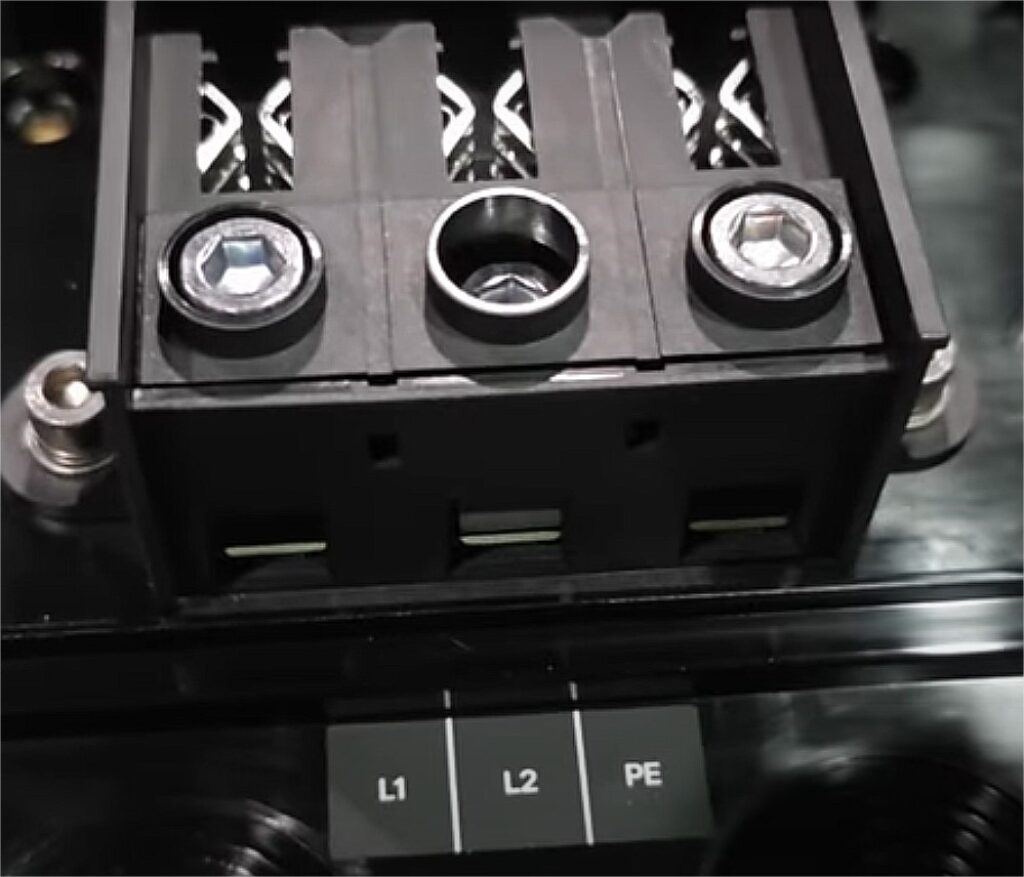
Start by removing the cover using the provided tool. Inside, you’ll find three wire lugs for L1, L2, and PE (ground).
- L1 = Black
- L2 = Red
- PE = Green
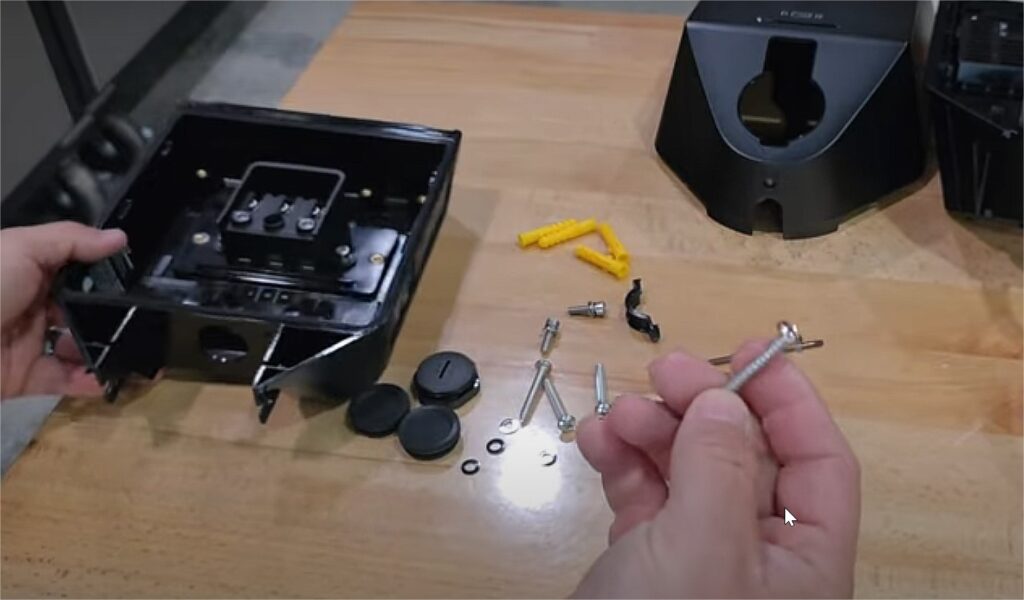
The back panel has four mounting holes. Just mount it on your wall using the screws and washers that come with it — simple and straightforward. If mounting into wood, anchors are not necessary.
2. Drill and Mount the Conduit
Use a step bit to drill a 1 ¼” hole into your panel or trough. This helps route your wires cleanly and safely.
Feed your 6-gauge wires through the conduit and into the charger.
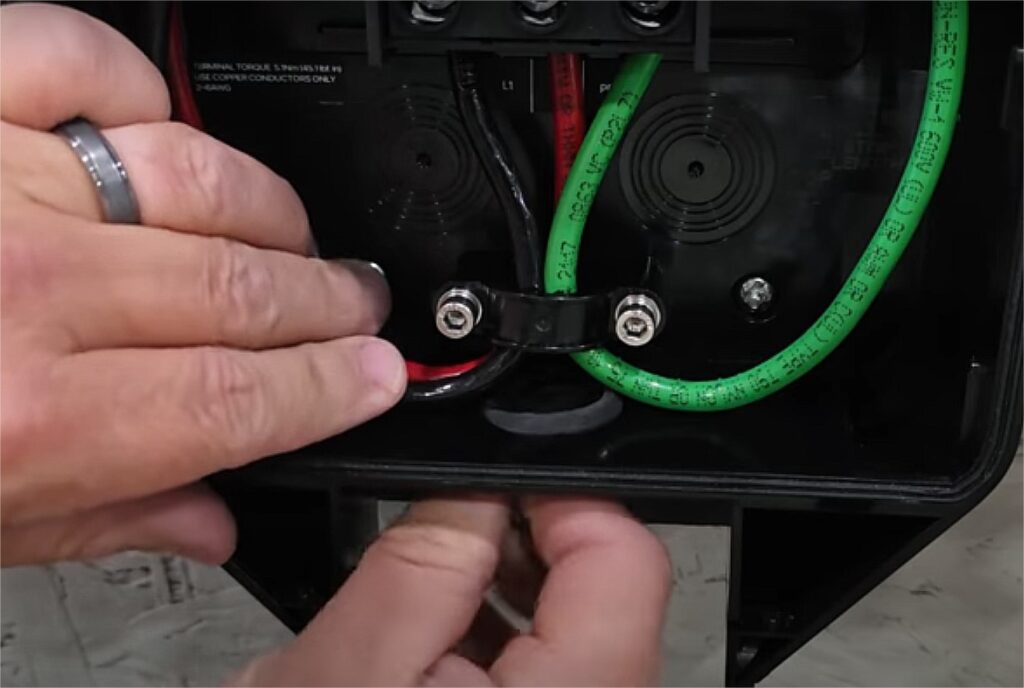
3. Wire the Charger
Strip 16mm of insulation from each wire (as per the built-in guide) and insert them into the terminal lugs.
- Torque to 45 ft-lbs
- Always start with ground wire first, then L1 and L2
Make sure your connections are tight and weatherproof, especially if using the bottom entrance for outdoor installs.
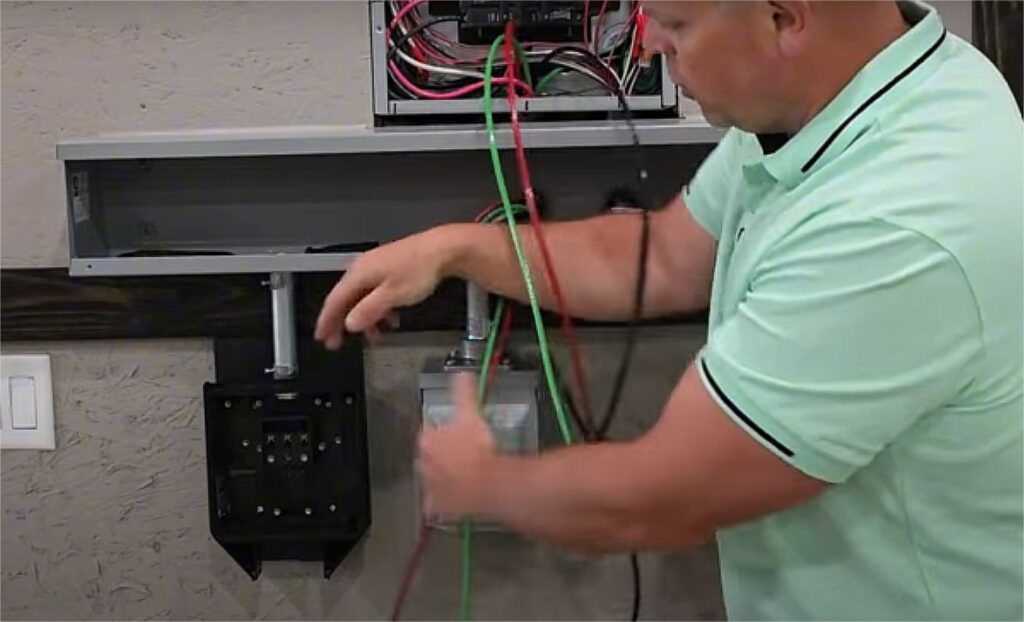
4. Connect to the Panel
Turn off the main breaker and any solar back-feed connections.
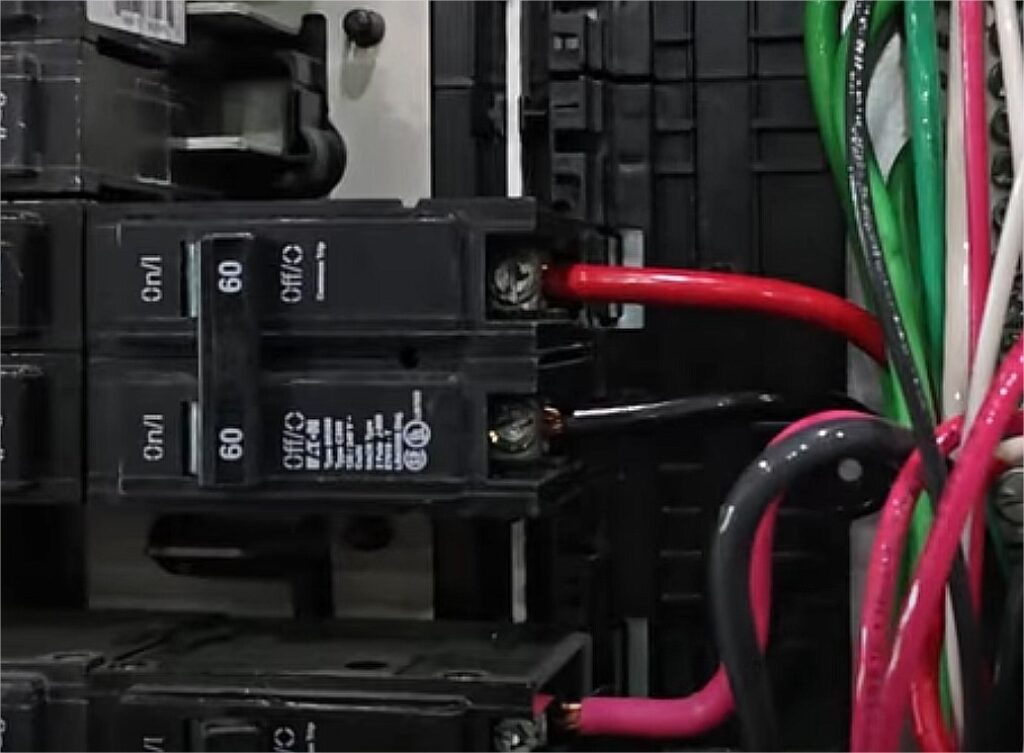
Insert the wires into a 60A double-pole breaker in your subpanel:
- Black wire to one terminal
- Red wire to the other
- Green to the grounding bar
Ensure everything is properly torqued and tidy inside the panel.
Reassembly and First Boot
Once the wiring is complete:
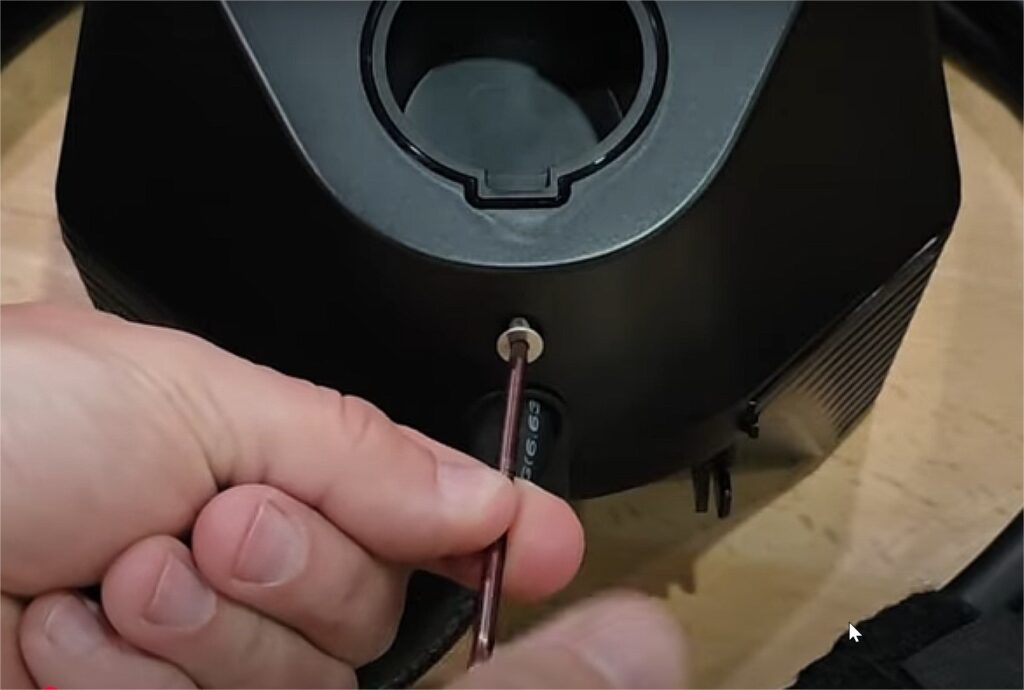
- Attach the top section of the charger
- Install the security cover with the included screw
- Replace all panel and trough covers
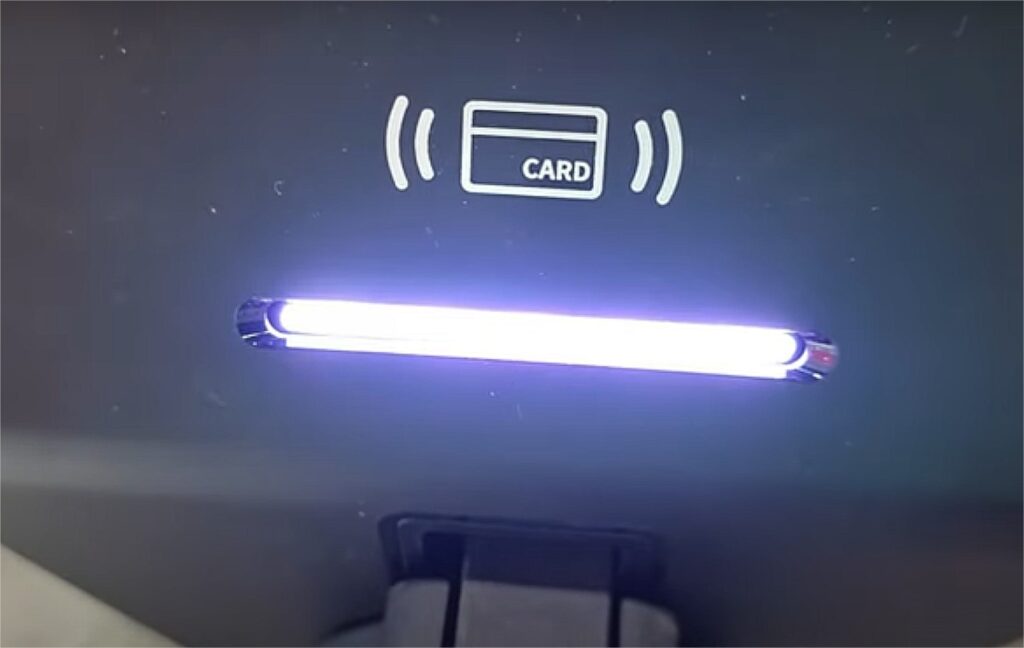
Now, flip your breakers back on and power up the charger. The status light at the bottom should activate, indicating successful power.
Firmware Update & Configuration
This is a smart charger, so don’t skip this step!
- Connect to the charger via Bluetooth
- Join your Wi-Fi network
- Navigate to firmware settings and install the latest version
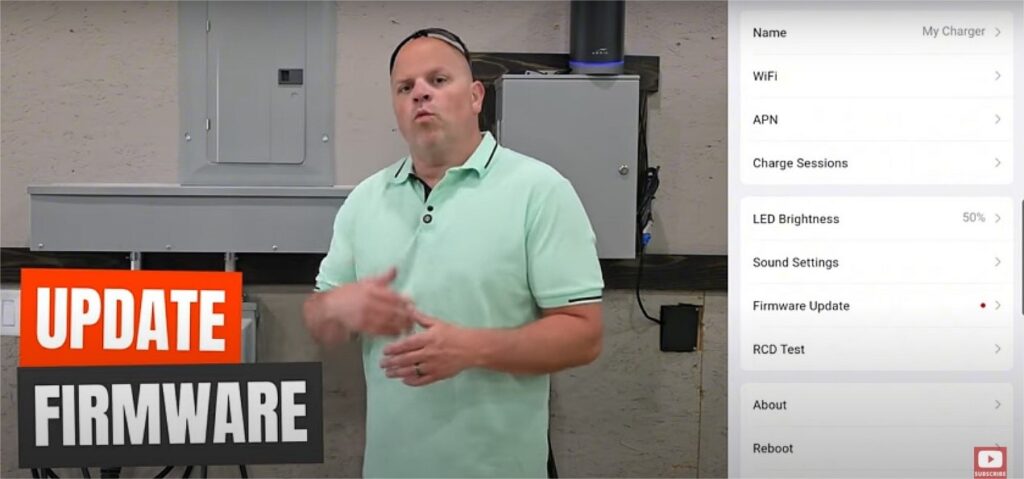
Note: Firmware updates are crucial to fix bugs and enhance performance. If you skip Wi-Fi, you can still update manually via Bluetooth.
Final Settings
If you’re using a 60A breaker with 6 AWG wire, don’t forget to dial down charging to 48A. This avoids overloading your circuit.
If you installed the charger with a 70A breaker and 4 AWG wire, you’re safe to use full 50A charging.
Final Thoughts: Why This Charger Stands Out
The ElecQ Home H1 isn’t just a standard EV charger. Its power monitoring module, firmware upgradability, and easy installation make it a smart, future-proof investment for any EV owner.
And remember, while this install can be DIY-friendly for some, always consult or hire a licensed electrician if you’re unsure about anything electrical. Safety first.


